
Urushi × Wood Art : Production Process of a Wiped-Urushi Wooden Plate
Each piece involves many intricate steps. By carefully attending to each stage—while engaging in a kind of dialogue with the wood—the result is a work that is not only beautiful and durable but also practical for everyday use. The following is one such example of the process for a wiped-urushi wooden plate.
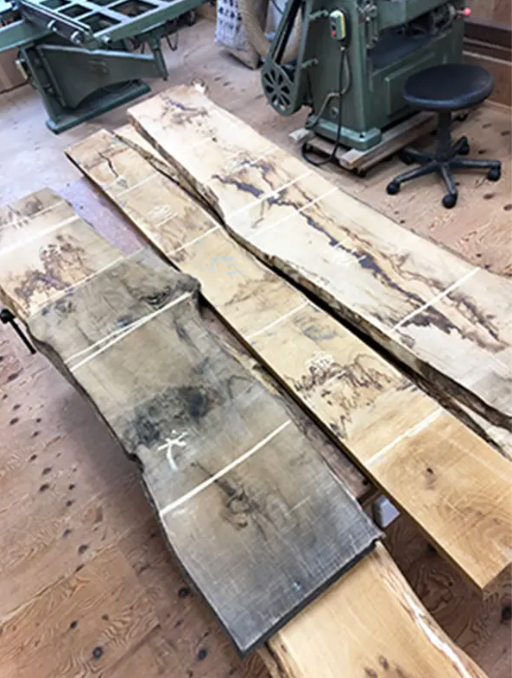
1 Carefully selected chestnut wood, naturally dried for over 10 years, is used.

2 The wood is cut and oriented based on design, size, and grain suitability for practical daily use.

3 The wood is planed to uniform thickness and marked for shaping.

4 After cutting the wood along the marked lines, the shape is refined to achieve a beautiful form.

5 Once the shape is formed, the surface is shaved with a hand plane. The craftsman carefully considers how much to shave and when to stop, taking into account the changing wood grain as the work progresses.

6 After the front surface is finished, the back is marked in the same way.

7 The back is then shaped just as carefully and smoothed with sandpaper to achieve a refined finish.

8 Urushi is first absorbed into the wooden surface. Although the wood is thoroughly dried, it still "breathes," so this process helps stabilize any subtle movements in the material.

9 Additional coats of urushi lacquer are applied—typically around four times—until the wood's vessels are fully filled. The surface is then sanded smooth to achieve the final form, resulting in a sleek finish.

10 More urushi lacquer is layered and polished in between coats. (This particular piece is lacquered 10 times on both sides.)

11 The piece is finished.
